Blog
How to Use Shisha Step by Step
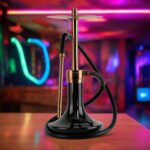
Shisha, also known as hookah, is a traditional method of smoking flavored tobacco through a water pipe. It is popular in many parts of the world for its smooth smoke, social atmosphere, and variety of flavors.
If you are new to shisha, learning how to set it up and use it properly is very important. A well-prepared shisha provides better flavor, smoother smoke, and a more enjoyable experience. This guide will walk you through every step—from preparing the equipment to smoking and maintaining your setup.
What You Need Before You Start
Before using shisha, make sure you have all the necessary components:
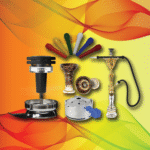
- Hookah base (glass bottom)
- Stem (metal body)
- Bowl (head)
- Hose
- Grommets (rubber seals)
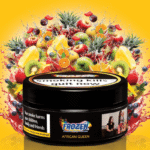
- Shisha tobacco (flavored)
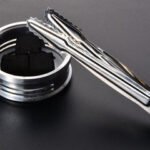
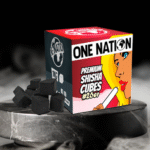
- Charcoal
- Foil or heat management device
- Lighter or coal burner
- Tongs
Having everything ready makes the process smoother and easier.
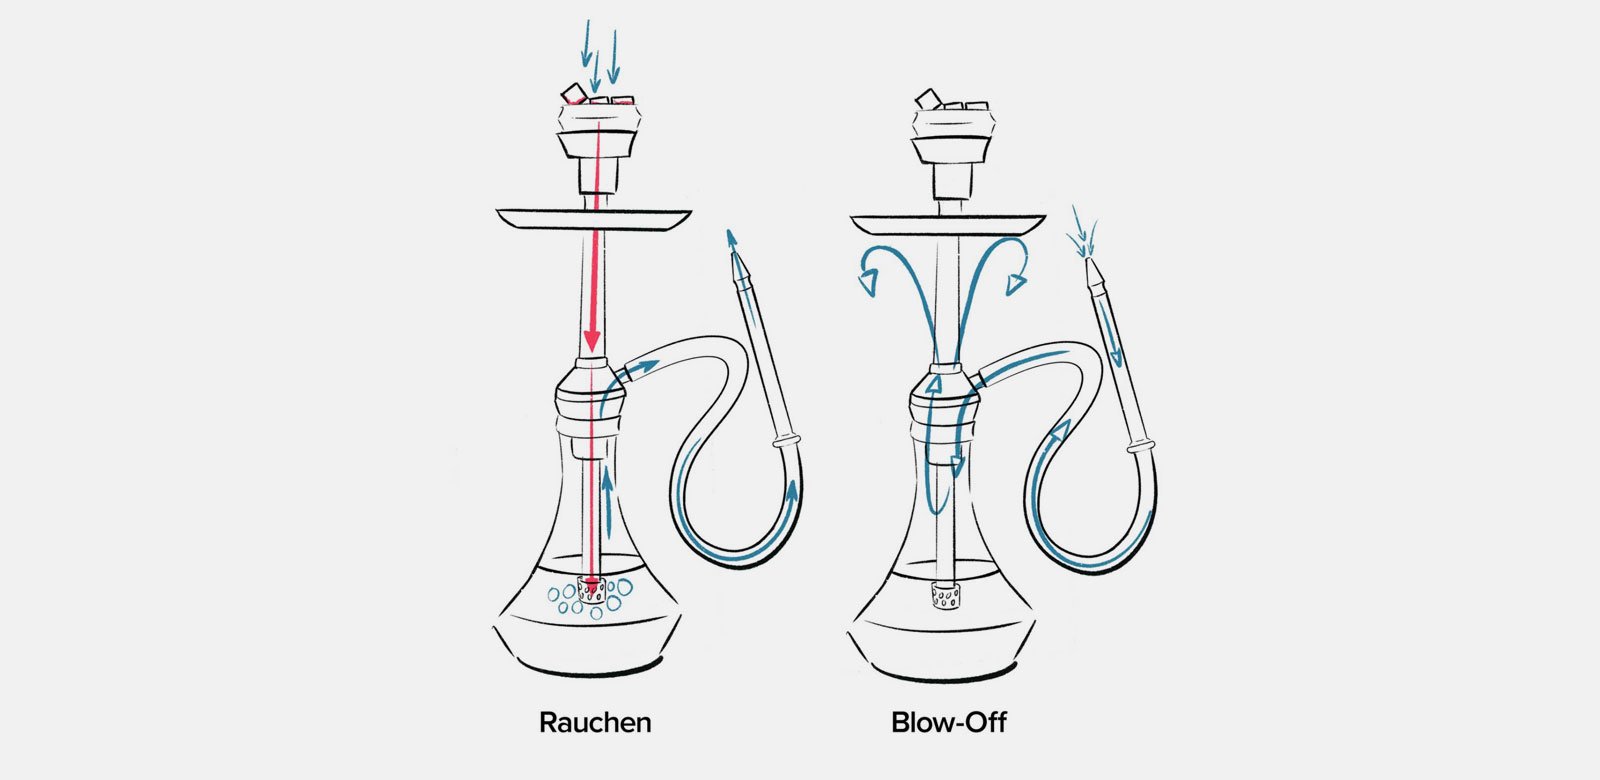
Step 1: Fill the Base with Water
The base is the bottom part of the hookah, and it holds water that cools the smoke.
How to Do It:
- Pour clean water into the base
- Insert the stem into the base
- Make sure the bottom of the stem is submerged about 1–2 inches in water
Tips:
- Too much water makes it hard to draw smoke
- Too little water makes smoke harsh
- You can add ice for cooler smoke
Step 2: Assemble the Hookah
Now it’s time to put everything together.
Steps:
- Attach the stem securely to the base
- Connect the hose to the hose port
- Place the bowl on top of the stem
- Ensure all rubber grommets are in place
Important:
- Make sure everything is airtight
- If air leaks, the shisha will not work properly
Step 3: Prepare the Shisha Tobacco
This step is very important for good flavor and smooth smoke.
How to Prepare:
- Open your shisha tobacco
- Mix it gently to distribute the molasses
- Take a small amount and fluff it
Packing the Bowl:
- Place the tobacco loosely into the bowl
- Do not press it down too tightly
- Leave a small gap at the top
Tips:
- Overpacking blocks airflow
- Underpacking reduces flavor
- Fluffy packing gives the best results
Step 4: Cover the Bowl with Foil
Foil is used to separate the charcoal from the tobacco.
Steps:
- Tear a piece of aluminum foil
- Stretch it tightly over the bowl
- Make sure it is smooth and firm
Poking Holes:
- Use a toothpick or pin
- Make small holes evenly across the surface
Tips:
- More holes improve airflow
- Avoid large holes, as they can burn the tobacco
Step 5: Light the Charcoal
Charcoal is what heats the tobacco.
Types of Charcoal:
- Quick-light charcoal (easy to use)
- Natural charcoal (better flavor, takes longer to light)
How to Light:
- Use a lighter or coal burner
- Heat until the charcoal is fully glowing red
- Make sure all sides are lit
Safety Tip:
- Never use half-lit charcoal
- Always use tongs to handle charcoal
Step 6: Place the Charcoal on the Bowl
Once the charcoal is ready:
Steps:
- Place 2–3 pieces of charcoal on top of the foil
- Position them around the edges, not the center
Why Edges?
- Prevents burning the tobacco too quickly
- Provides even heat distribution
Step 7: Start Smoking
Now your shisha is ready to use.
How to Smoke:
- Take slow, gentle puffs
- Wait a few seconds between each puff
- Allow the heat to build gradually
First Few Minutes:
- The smoke may be light at first
- After a few puffs, it will become thicker
Step 8: Manage the Heat
Heat management is key to a good session.
What to Do:
- Move the charcoal occasionally
- Add more charcoal if smoke becomes weak
- Remove charcoal if smoke becomes harsh
Signs of Good Heat:
- Smooth smoke
- Strong flavor
- No burning taste
Final Thoughts
Using shisha is not just about smoking—it’s about the experience. From preparing the bowl to managing heat and enjoying the flavors, each step plays an important role in the overall quality of your session.
By following this step-by-step guide, you can ensure a smooth, flavorful, and enjoyable experience every time. With practice, you will learn how to perfect your setup and customize it to your preferences